Tile & Stone Installation
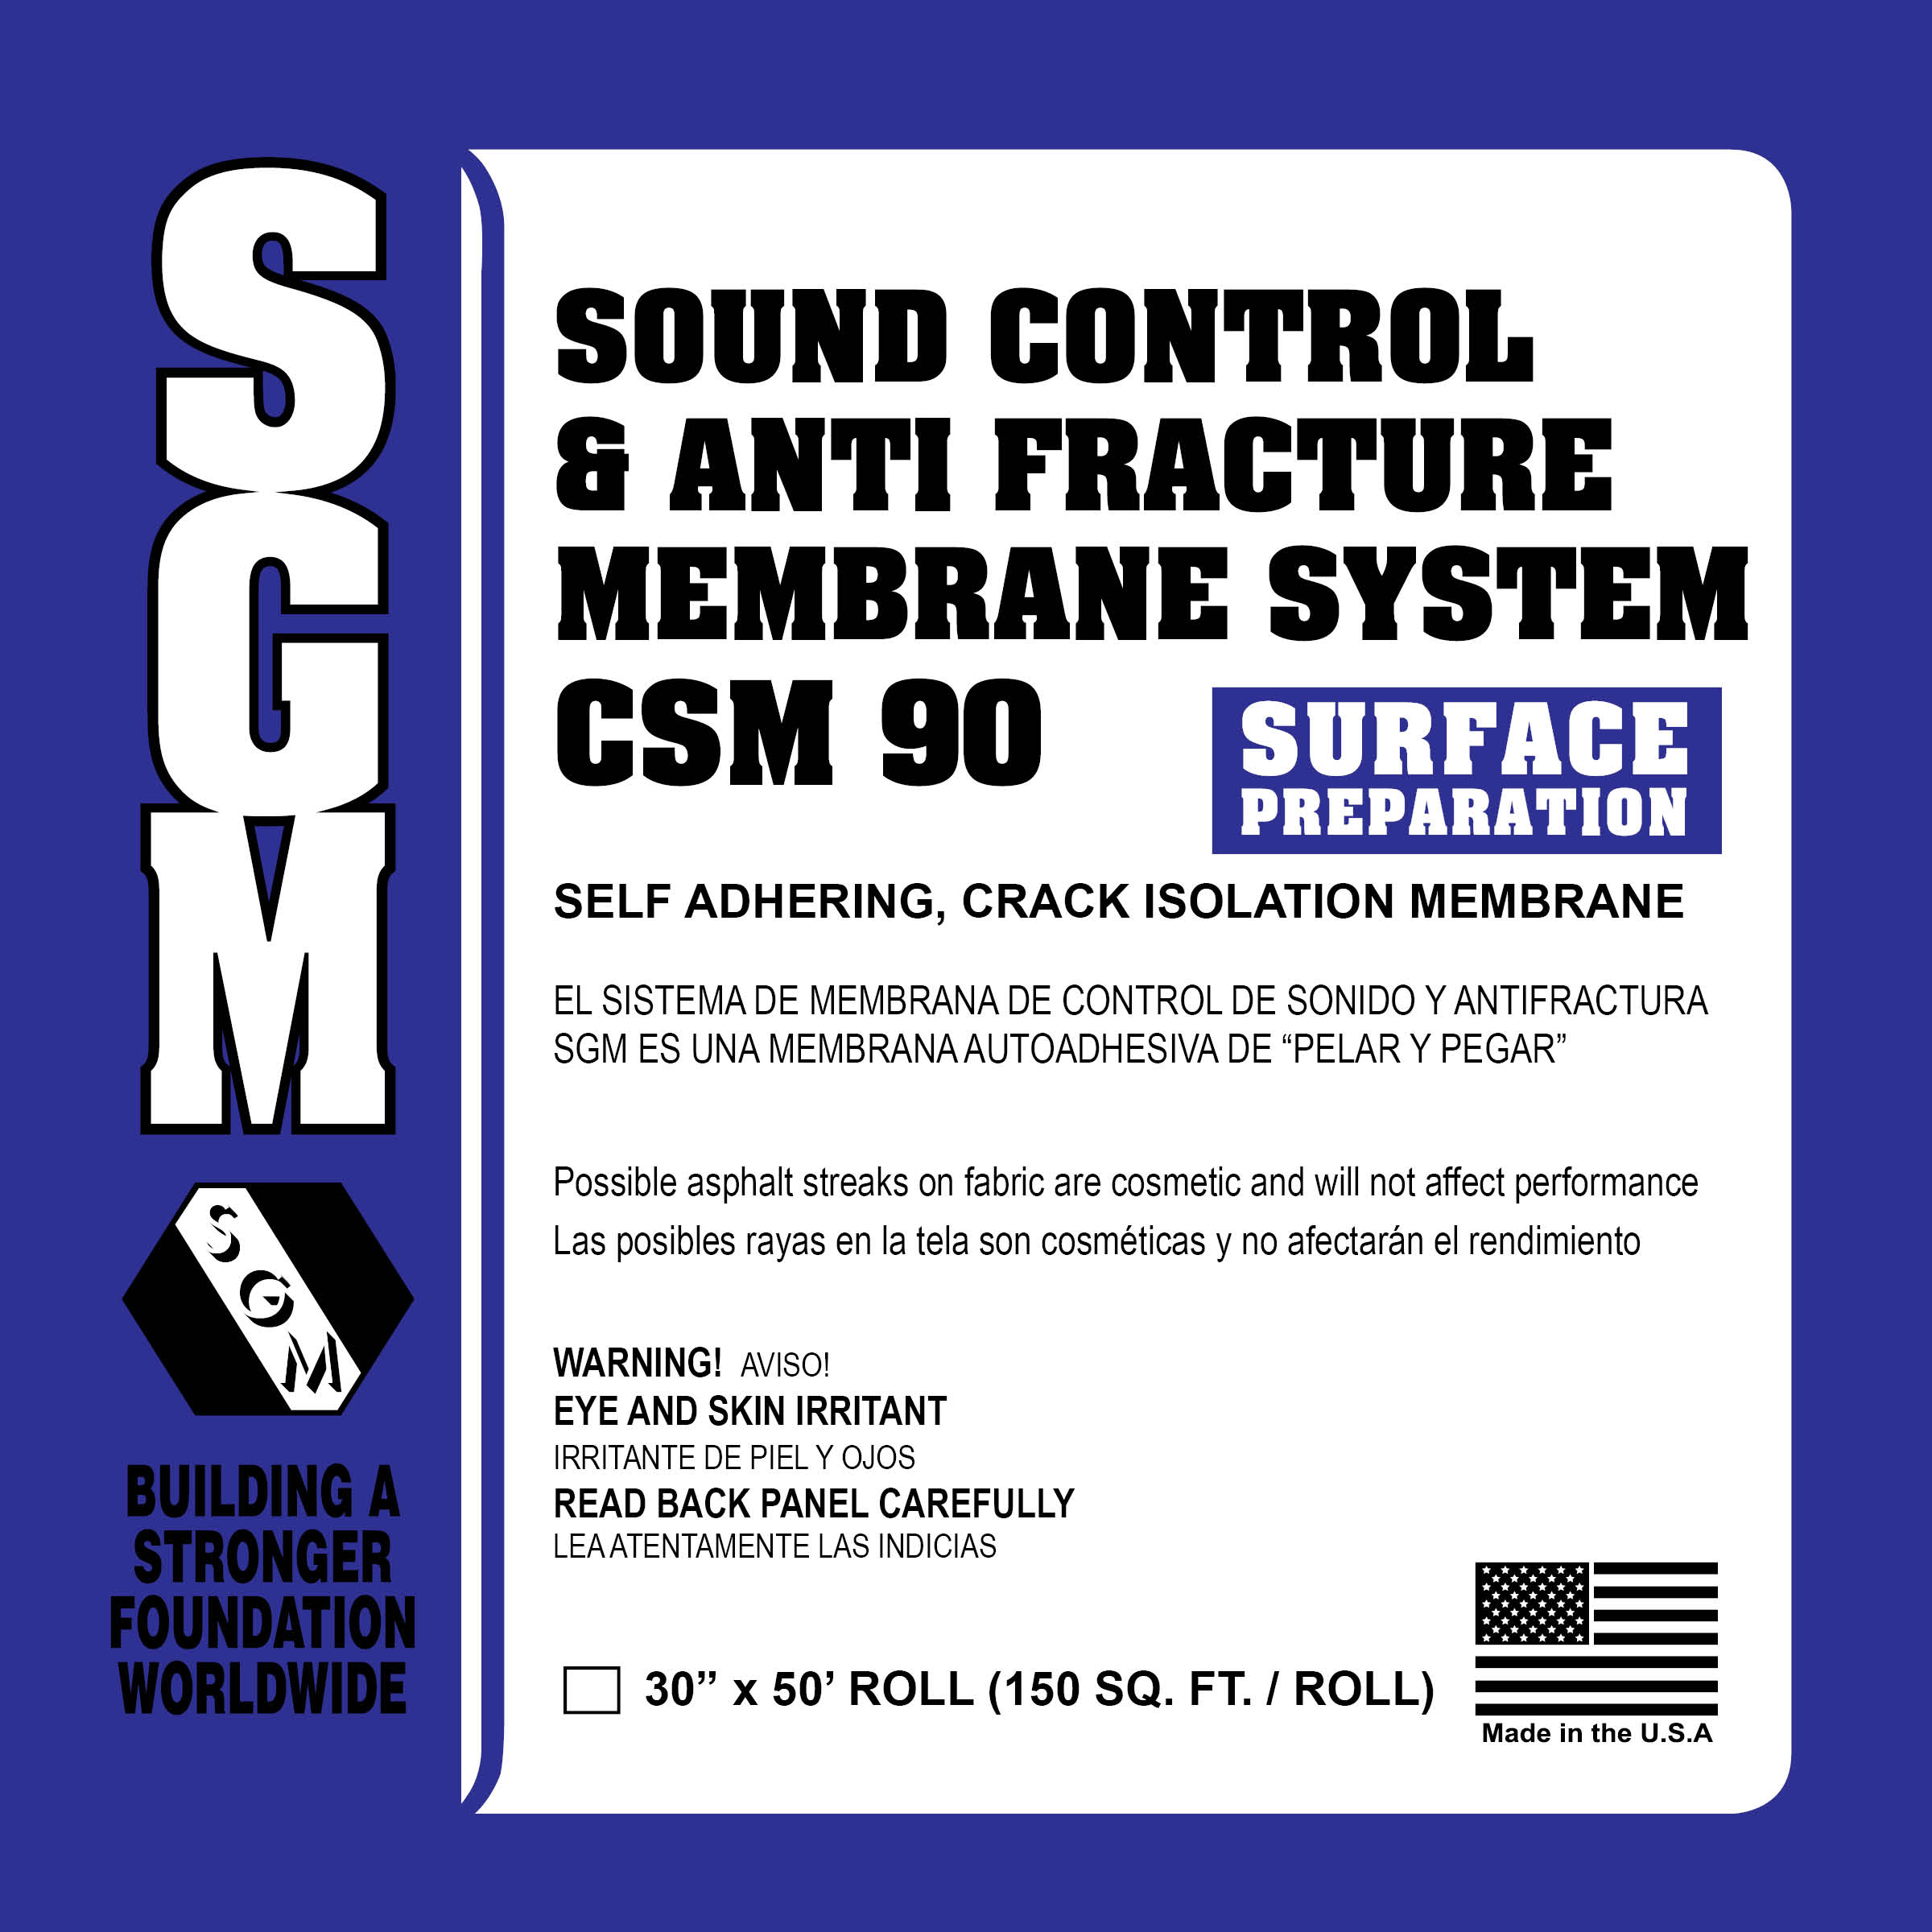

(CSM 90) Sound Control and Anti-Fracture Membrane System
(CSM 90) SGM Sound Control and Anti-Fracture Membrane System is a self-adhering “peel-and-stick” membrane. CSM 90 consists of a base layer of polymer modified elastomers permanently laminated to a unique “stress flex” fiber sheet to form a single, high performance, self-bonding membrane over which ceramic tile or dimension stone can be installed immediately after placement with a latex-modified Portland cement mortar.
Product Details
TECHNICAL DATA
APPLICABLE STANDARDS
- American Society for Testing and Materials (ASTM) International
- American National Standard Institute (ANSI)
- ASTM C627: A Standard Test Method for Evaluating Ceramic Floor Tile Installation Systems Using the Robinson — Type Floor Tester — Rated “Extra Heavy”.
- ANSI 118.12: ANSI Specifications for Crack Isolation Membranes For Thin-Set Ceramic Tile And Dimension Stone Installation. Meets or Exceeds ANSI 118.12.
- ANSI 118.10: ANSI Specification for Load Bearing, Bonded, Waterproof Membranes For Thin-set Ceramic Tile And Dimension Stone Installation Meets or Exceeds ANSI 118.10.
- ASTM E 90-04 / ASTM E 413: Sound Transmission Class STC = 67
- ASTM E 492 / ASTM E989-08: Impact Insulation Class IIC = 65
INSTALLATION
SUITABLE SUBSTRATES
Poured concrete, pre-stressed, and pre-cast concrete. Concrete backer board, mud beds, gypsum, lightweight concrete, and patching compounds.
- Wood: Exterior or exposure 1 plywood, APA-rated sheathing, sturdy-I-floor, hardwood, tongue and groove, and oriented strand board (OSB) standard face (gap between sheeting as required). Other substrates include ceramic and porcelain tile, stone, VCT/ VAT, metal, radiant-heated, painted and sealed floors, and floors damaged by dry shrinkage and structural movement.
SURFACE PREPARATION
Surfaces must be level, structurally sound, and meet 1/360 for ceramic and porcelain tile or 1/720 for stone tile on live or dead loads. Grind bumps and level slab depressions with quality latex underlayment in accordance with manufacturer’s instructions. Surfaces must be free of holes, projections, moisture, or bond breakers. Scarify smooth surfaces. Maximum variation of ¼ inch in ten (10) feet from the required plane. Ensure joist spacing of no more than sixteen (16) inches on-center and a double sub-floor consisting of minimum ? inch sheets of exterior grade plywood. Perform Black Mat MVT (Moisture Vapor Transmission) test. If MVT is present, conduct ASTM F-1869-98 test for emissions. Contact SGM for instructions if MVT drive is in excess of 10#/1000SF/24HRS. Apply cementitious parge coat to concrete block and allow to cure before installation. Apply Southcrete™ 25 Acrylic Mortar Admix to highly porous surfaces such as mud beds, gypsum / gypcrete, lightweight concrete, and patching / leveling compounds. Allow Southcrete™ 25 Acrylic Mortar Admix to cure 24 hours prior to applying Primer. Some backer boards are not suitable for vertical CSM application. A successful overnight Pull Test is required. All installations begin with a clean, dry floor. Substrates must be well adhered to and clean of wax, petroleum sealers, dirt, grease, oil, or other bond-breakers. Recommended for installations under latex-modified thin-bed and medium- bed mortar installations (ANSI 118.4) of ceramic, porcelain, stone, slate, marble, and granite tiles. Also for use under brick, pavers, hardwood, and manufactured wood. Also ideal for use with radiant heated floors and low voltage tile warming systems.
APPLICATION
Measure and pre-cut membrane to four (4) to six (6) inchdes longer than required size. Re-roll membrane to half the room’s depth. Apply Interior or Exterior Primer as required:
- Interior Primer: Should be applied with a short nap roller, flat trowel, brush applicator, or sprayer. Substrate temperature should be at least 65°F (sixty degrees Fahrenheit).
- Exterior Primer: Should be applied with a short nap roller, notched trowel (no larger than 1/16″ x 1/32″ x 1/32″) or paintbrush. Substrate temperature should be at least 55°F (fifty-five degrees Fahrenheit).
Shake, mix, or stir primer thoroughly. Prime only an area that will be covered by a membrane within four (4) hours. Apply a thin film of uniform thickness to the substrate in single strokes. Do not re-roll primer. Air pockets may form if the membrane is installed over a wet primer. Allow the primer to dry until tacky to touch, but non-transferable to finger. This may take as little as ten (10) minutes, but usually no more than forty-five (45) minutes, depending upon temperature, humidity, internal moisture level/porosity of the substrate, and application thickness. See primer labels for additional information. Slit release paper and allow the membrane to roll out, adhesive-side down, across the primed floor. Press membrane into place with the flat side of trowel applying fifty (50) pounds of pressure per square inch or a 75100# Roller.
FULL FLOOR COVERAGE APPLICATION
Butt joint thirty-six (36) inch CSM or overlap and single cut through to remove excess. For end seams, continue with next roll and butt joint ends. Membrane is non-directional. Isolation joints, such as around weight bearing columns, and expansion joints placed for vertical movement need to be carried through to tile installation. Soft joints in tile patterns are required as per the Tile Council of North America (TCNA) Handbook 2019.
STRIP APPLICATIONS
- Joint Relocation: Thirty-six (36) inch CSM may be placed over control / saw-cut joints. Offset CSM two (2) feet to one side of the joint. On one (1) foot side of CSM, cut through the membrane at the tile joint closest to the control/saw-cut joint. This will assure lateral movement transfer to membrane. Apply appropriate caulk to new “soft joint”. Bevel CSM edges with thin-set or mortar for a smooth transition to substrate.
- Structural Cracks: Center twenty-four (24) inch CSM over cracks that completely penetrate slab. If crack turns, cut and butt joint CSM to accommodate direction. Bevel CSM edges with thin-set or mortar for a smooth transition to substrate.
- Non-Structural Cracks: Center twelve (12) inch membrane over non-structural cracks such as hairline shrinkage cracks. If crack turns, cut and butt joint CSM to accommodate direction. Bevel CSM edges with thin-set or mortar for a smooth transition to substrate.
- Exterior and Wet Area Applications: All joints and termination points of the membrane must be sealed with ¼ inch bead of SGM, Inc. approved sealant. Smooth out sealant with the flat side of the trowel and let cure.
- In-Floor Heating Systems: Use CSM Membrane System, full floor coverage, over in-floor, hydronic heating systems placed in poured gypsum / gypcrete or other lightweight products. Read CSM Liquid Floor Prep Product Data and Installation Sheet. Apply Interior Primer or Exterior Primer as required and install CSM Membrane as directed. Use 118.4 or better latex mortar for tile installation.
- Tile Warming Systems: Use CSM Membrane, full floor coverage, over substrates where low-voltage tile warming systems are to be installed. Follow CSM Product Data and Install guidelines. Secure tile-warming system to Membrane as directed by the manufacturer. Use 118.4 or better latex mortar for tile installation.
- Tile Setting Materials: When installing porcelain, ceramic and decorative stone tile ,or related products, a thin-bed, latex modified mortar meeting ANSI A118.4 must be used. Apply membrane over level coats, mortar, and mud beds. Key setting material into the membrane with the flat side of the trowel. Re-apply mortar with notch side of trowel using minimum trowel size of ¼ inch x ? inch. Contact tech support for trowel size when using organic adhesives and epoxy mortars suitable for ceramic tile applications.
APPLICATION NOTES FOR INTERIOR PRIMER
- Clean Up: Remove wet primer with a damp cloth and potable water. Use mineral spirits for dried primer, following manufacturer’s instructions. This primer is not freeze/thaw stable. Do not store below 35°F (thirty-five degrees Fahrenheit). If primer separates, shake well. If the product does not mix, do not use. Due to the increased adjustability of this primer to the membrane, a pull test, if needed, should be performed after 24 hours. Permanent bond should be established after 48 hours.
APPLICATION NOTES FOR EXTERIOR PRIMER
- Clean Up: Clean tools, equipment, and spillage with mineral spirits, following manufacturers instructions.
LIMITATIONS
Do not use over copper shower pan liners. Avoid contact with aluminum, copper, copper alloys, or polystyrene foam. May damage painted surfaces, vinyl, and plastics. Before applying primer to work area, first, apply to a small test area to ensure suitability.
- Spill or Leak Procedures: Absorb and wipe-up spills with suitable clean-up materials and discard in accordance with local requirements. Prevent entry into sewers and waterways. Make sure that the work area is well-ventilated. Prevent any vapor build-up by introducing fresh air to maintain levels below exposure limits. Open windows and doors to ensure continuous movement of fresh air and cross-ventilation during application and curing. Vapor is heavier than air and will collect in low areas. Do not use in basements or other poorly-ventilated areas. Wear only a NIOSH-approved self-contained breathing apparatus or other approved respiratory protection device if conditions generate vapor levels in excess of recommended exposure limits. Avoid skin contact by wearing gloves and eye protection with side shields. Contact with flame or hot surfaces may produce toxic gases. Do not smoke in work areas.
- IMPORTANT: See primer labels and MSDS for additional instructions on use, storage and disposal.
CAUTION
Not recommended for use on concrete floors with excessive moisture vapor transmission or excessive hydrostatic head pressure. Protect floors from traffic until the new floor is fully cured. Large format tile (LFT) installations may require extended cure time. Membrane and companion products must be protected from elements until the tile is installed, grouted, and cured. SGM must be contacted for special instructions prior to the application of a leveler or patching compound to the membrane. Do not use petroleum-based cleaners or sealers for tile, marble, stone, or grout. Impervious tile (less than 0.5% absorption) requires a 48-hour cure time prior to grouting. Protect floors heavy construction equipment during installation to prevent damage.
COVERAGE
- Interior Primer: 150 Square Foot / Roll; 375—425 Square Foot / Gallon
- Exterior Primer: 300—400 Square Foot / Gallon
PACKAGING
- Underlayment: 36″ x 50′ Roll
- Primer: One (1) gallon containers
MAINTENANCE
None required.
SGM, Inc. warrants this product will perform in accordance with its intended use for a period of one (1) year from the date of manufacture. Any claim for defective products must be submitted in writing to SGM, Inc., and samples of defect must be provided. SGM, Inc.’s sole obligation will be to replace any product determined to be defective by SGM, Inc. EXCEPT AS PROVIDED HEREIN, SGM, INC. MAKES NO OTHER REPRESENTATION OR WARRANTY OF ANY KIND, INCLUDING ANY WARRANTY OF MERCHANTABILITY OR FITNESS FOR PARTICULAR PURPOSE. IN NO EVENT SHALL SGM, INC. BE LIABLE FOR DAMAGES OF ANY KIND OR NATURE, WHETHER ARISING BY CONTRACT, TORT OR OTHERWISE. SGM, INC.’S SOLE OBLIGATION WILL BE TO REPLACE ANY PRODUCT DETERMINED BY SGM, INC. TO BE DEFECTIVE.