Pool Products
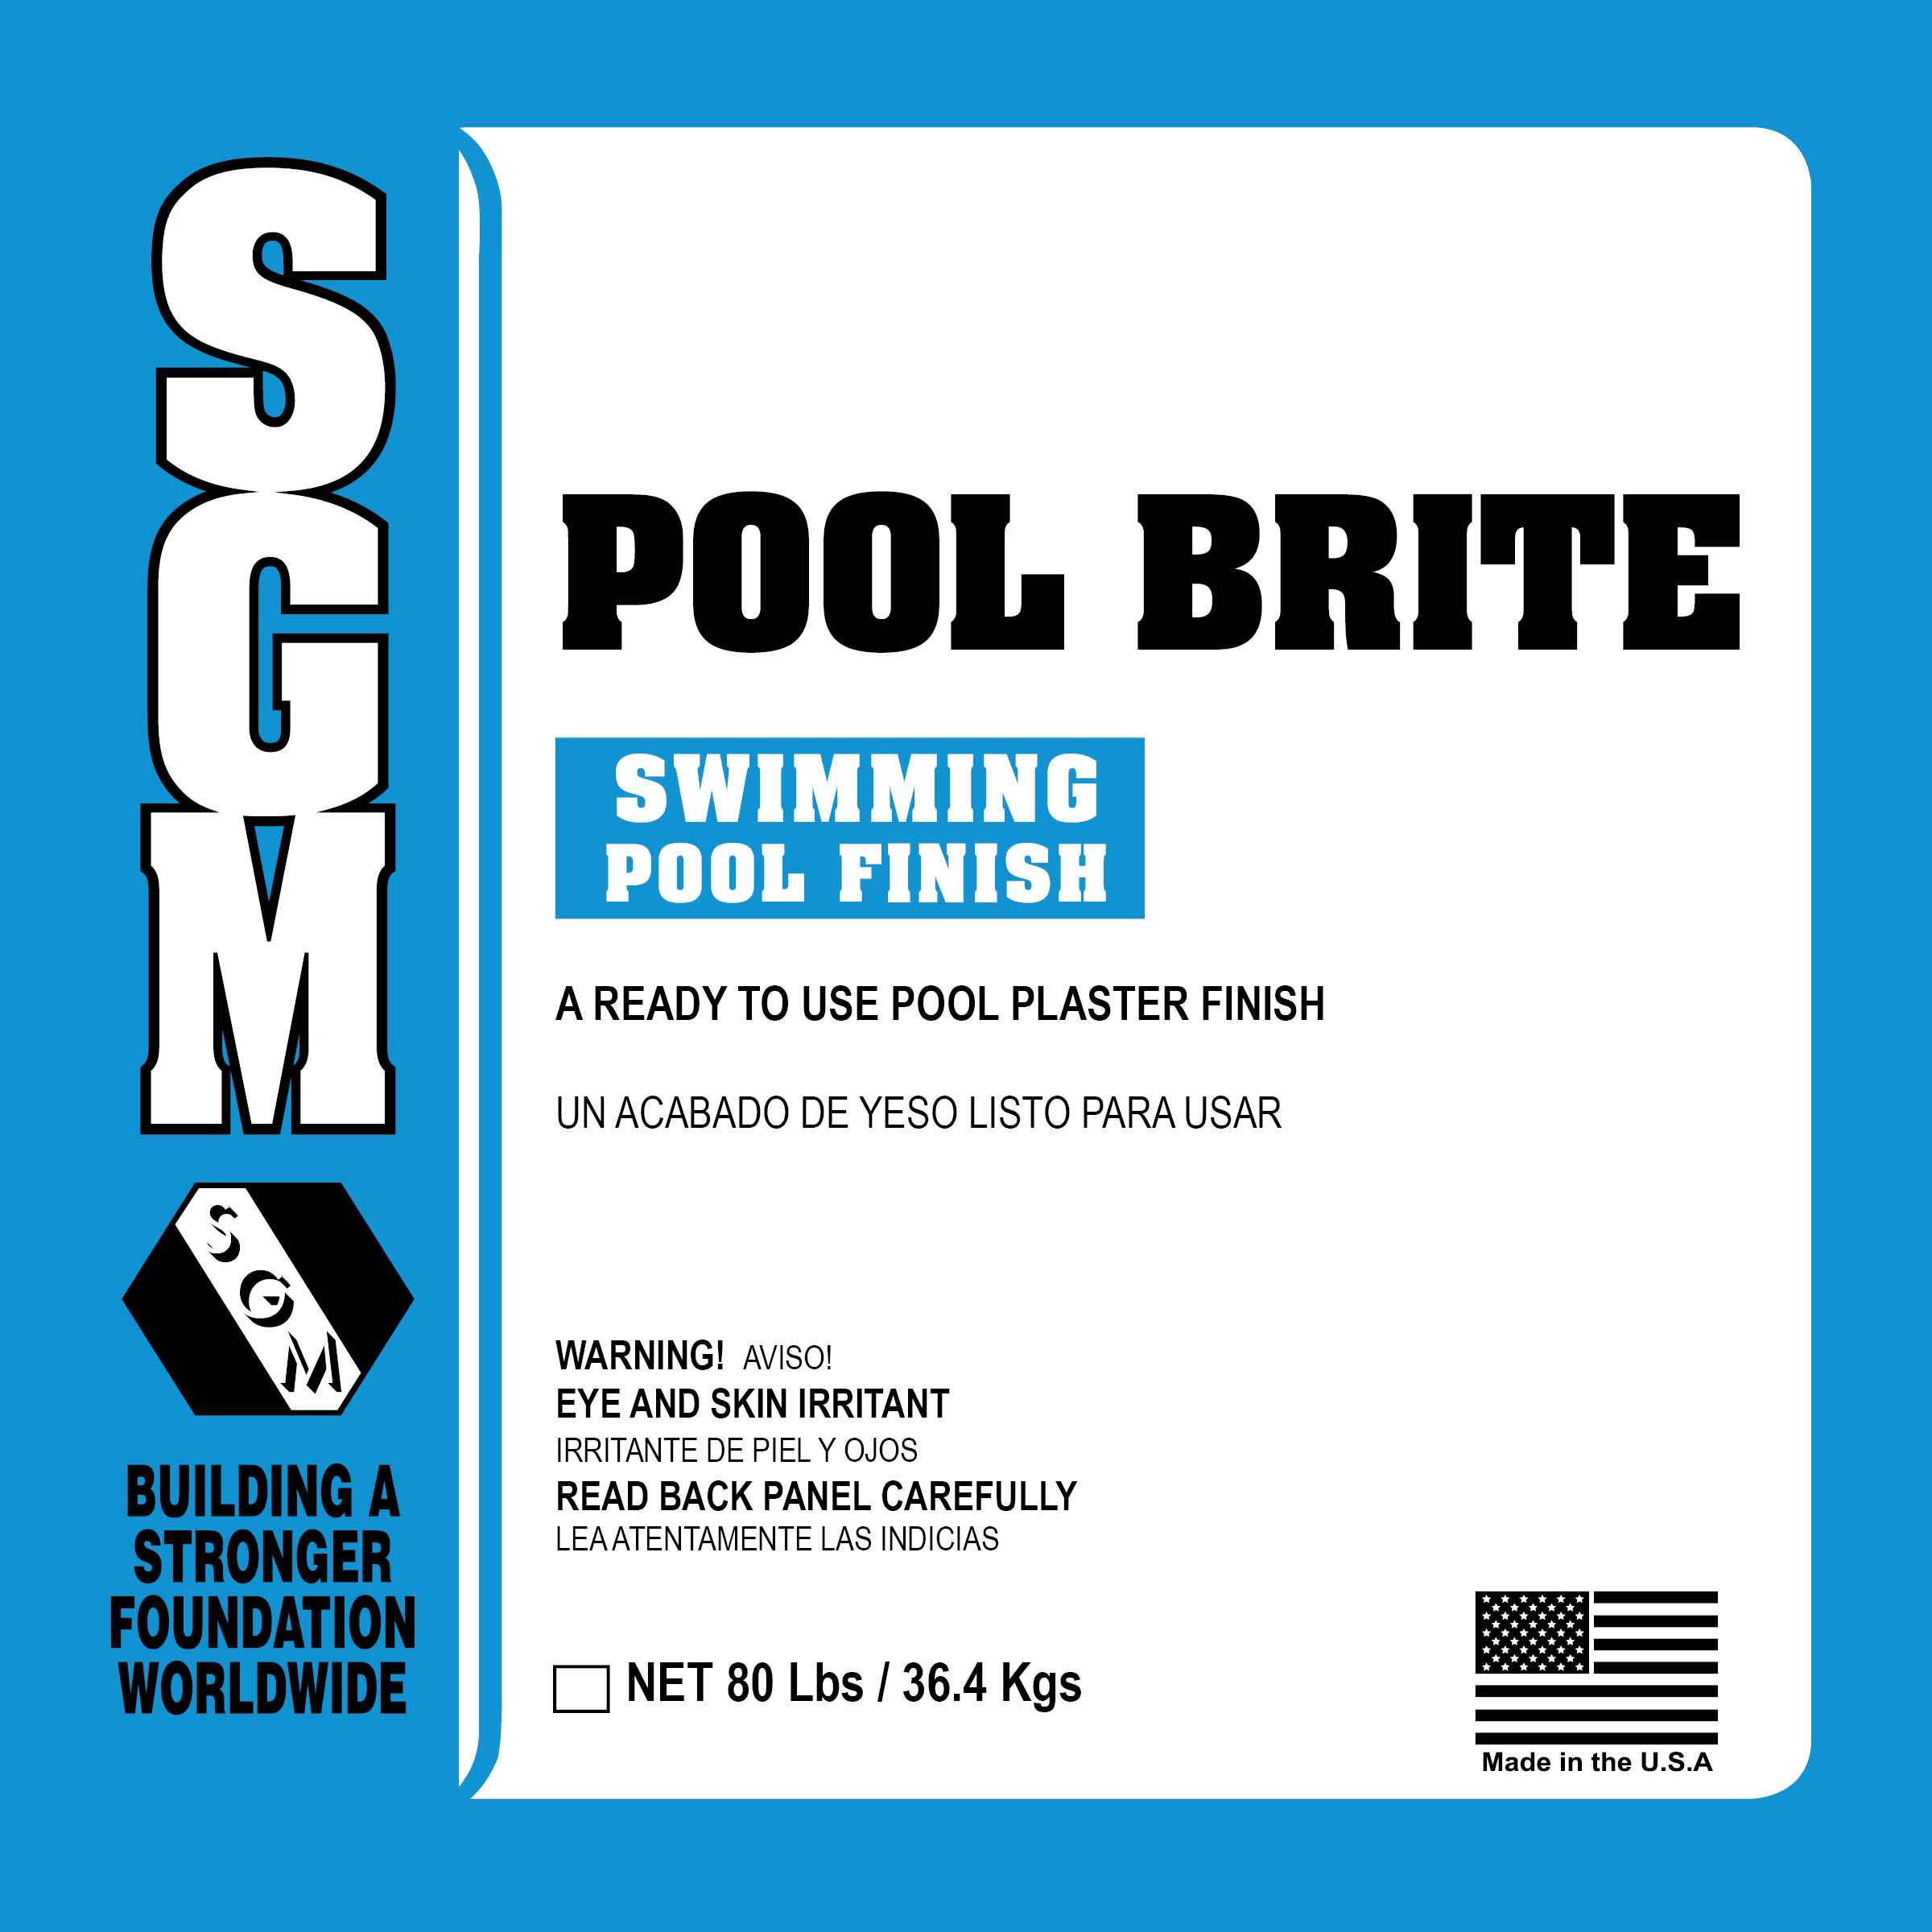

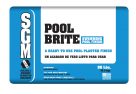
Pool Brite®
Pool Brite® Pre-Mixed Pool and Spa Finish is a specially formulated, pre-mixed material containing select grades of crushed marble, white cement, and other proprietary ingredients. Pool Brite® has a brilliant white finish and is ideal for new or renovation projects.
Product Details
INSTALLATION
SURFACE PREPARATION
Examine pool surfaces to identify conditions that might interfere with the proper bonding of coating. Look for algae, mold, mildew, dirt, paint, mortar droppings, efflorescence, patching compounds, loose tile, cracked plaster, et cetera. Clean pool surfaces of all material that might interfere with the proper bonding of coatings. Clean with high-pressure water or by sandblasting. Wash with chlorine until algae, mold, and mildew are gone. Remove oil and grease spots using tri-sodium phosphate or equivalent and water; soak if necessary. Remove all cleaning solutions via high pressure- washing. Identify hollow spots in plaster by sounding. Remove and repair all hollow and de-laminated plaster. Saw cut an area three (3) inches around bad spots and remove plaster inside the saw cut. Undercut the edges of the remaining plaster. Fill holes with specified patching cement SGM HSR High Strength Render to a level of existing plaster. Remove loose tile and fittings; undercut existing plaster two (2) inches below the tile line, and around return lines and fittings to a depth of 3/8 inch. Stop water penetration from the outside pool. Plug cracks and leaks around fittings using hydraulic cement (SGM Dynamite Pool Patch). Etch cleaned the surface with a muriatic acid solution. Use concentration necessary to clean and roughen the surface; smooth surfaces may require higher concentration. Neutralize surface with a solution of baking soda and water to eliminate acid residue, which can cause bond failure. Remove remaining acid solutions via high pressure-washing. Plug pool inlets and outlets to prevent clogging with expandable plugs or threaded caps. Mark location of fittings using tape on coping or on a measured drawing. Place the sump pump at the main drain to remove all running and standing water. Do not begin installation until the concrete pool shell has cured at least twenty-eight (28) days. For renovation projects (plastering over an existing plaster pool finish) and poured or formed concrete shells apply SGM BOND-KOTE® as directed. Allow BOND-KOTE® to cure for at least six (6) hours before plastering. Plaster should be applied to BOND-KOTE® within three (3) to five (5) days. If left for a longer period before the finish is applied, ensure BOND-KOTE® is clean and free of dirt, efflorescence, and other contaminants. If necessary, clean BOND-KOTE® by brushing vigorously while spraying with water; chlorine may be used as needed.
MIXING
Pool Brite® is made in batches of 4,000 to 20,000 lbs. (1,800 to 9,000 kgs.) using natural ingredients. For this reason, there will be variations in shade between batches. Batch numbers are printed on the ends of every individual bag. It is important the user follow these instructions carefully to ensure the most consistent color throughout the pool.
-
- Separate the bags according to the batch numbers on the bottom of each bag. Record all batch numbers. Warranties submitted without valid batch numbers are VOID.
- Blend different batches together in each mix according to the ratio present at the job site.
- FOR EXAMPLE: If there are thirty (30) bags total on the job and there are twenty (20) bags of Batch A and ten (10) bags of Batch B, then use two (2) bags of Batch A to one (1) bag of Batch B in every mix.
COVERAGE
Each eighty (80) lbs. bag will cover approximately 22—25 sq. ft., to a thickness of minimum 3/8 inch to ½ inch. Surface roughness affects coverage rates.
- The shelf life of Pool Brite is up to one (1) year in the unopened, properly stored container. Pool Brite can be mixed by using a low-speed paddle mixer, low RPM drill with mud paddle, ribbon blender, or concrete plaster mixer. Measure and add two (2) to 2.5 gallons of clean potable water to mixer.
- Hold back a portion of the water and add as necessary as mixing progresses. Lower water to cement ratios will produce plaster of greater strength and density. Therefore it is best to use as little water as needed to produce a workable mix. Excess water will reduce strength and increase shrinkage (check) cracks.
- NOTE: Mix water quality is extremely important. Wellwater or water high in metal and mineral content will cause discoloration in finished Pool Brite®. Additionally, water of high hardness or alkalinity will cause the plaster to effloresce, releasing high levels of salts that produce calcium scale. Check mix water for metals, minerals, hardness, and alkalinity before using.
Start the mixer and add Pool Brite® as quickly as possible to ensure that all the material has the proper mix time. Mix for a minimum of five (5) minutes but no more than ten (10) minutes. This ensures even distribution of aggregates and increases the working time of the plaster. Insufficient mix time will result in uneven setting and shade variations. Too much mix time will produce an overall weaker plaster and may entrain undesirable air bubbles. As a rule of thumb, mix for only the amount of time required to produce a consistent, homogenous mix. Calcium chloride may be used as an accelerator. It must be fully dissolved in water allowing impurities to settle out. Pour off the solution from the top being careful not to add impurities to the mix. The impurities found in calcium chloride flake and pellets have been known to cause discoloration in pool plaster. No more than two (2) percent by weight of cement (about ½ lb. per bag) can be used. Overuse may cause discoloration.
PUMPING
Although it is not necessary to use a plaster pump, many contractors do. Included here are some helpful hints for successful pumping. Increase the size of the pump manifold from three (3) inches to four (4) inches. Change the valve ball from plastic to steel to improve longevity. Set the plaster pump to the lowest gear by moving the belt. Always begin pumping with a full stroke on the main piston. This is accomplished by advancing the wheel until the cam is at its highest position. Prepare a slurry of cement and water or pump aid and run it through the pump first to prime the pump and lubricate the hoses. Pour the mixed plaster slowly into the pump hopper. Do not pour all the material in at once. Agitate the material in the hopper to prevent separation of the cement and aggregate. Avoid unnecessary stopping during the pumping process. Pool Brite aggregate will tend to settle in the pump manifold and hoses when the pump is stopped. Agitate the remaining material left in the hopper to reduce clogging. Do not try to clear a blockage using the pump. Disassemble and clean the manifold and hoses when clogged. Do not over-water mix. This will only cause the material to separate, clogging the pump and hoses.
APPLICATION
The substrate should be cool and damp but not dripping wet. Mist shell with cool, clean potable water. Non-absorbed water may be removed by using sponges and/or air. Standing water will weaken Pool Brite and may cause washouts. Note: Hot, dry shells will cause the rapid setting of the plaster and result in check or shrinkage cracking and de-lamination. All materials and effected areas should remain above 50°F / 10°C (fifty degrees Fahrenheit / ten degrees Celsius) or below 100°F / 38°C (100 degrees Fahrenheit / 38 degrees Celsius) 24-hours prior and 72-hours after placement. Discard unmixed material (lumps). Apply plaster liberally with the flat side of the trowel using sufficient pressure to key in a scratch coat on the vertical surfaces. Beginning with the shady walls and working to the sunny walls, trowel a scratch coat on the walls and allow to set up until it becomes tacky. The set time will vary according to temperature and humidity. Once the scratch coat has become tacky, apply a finish coat to the entire pool surface beginning in bowl area and working toward the shallow end, troweling and blending walls and floor together to achieve a seamless appearance while working to a final thickness of one-half (½) inch (10 mm—12 mm). Uniform troweling will help to ensure even exposure, reduce washouts and produce a comfortable slip-resistant finish. The technique of “slick troweling” is recommended. During the application, make several passes with pool trowels to compact the aggregate and ensure a smooth dense finish. In this process, the cement paste is brought to the surface during troweling and is removed with the trowel. This produces a slick surface and minimizes the exposure needed. Small amounts of lubrication water may be necessary for smoothing out and compacting the finish in this process. The aggregate can be seen through a thin film of cement paste after troweling is complete. Special attention must be given to the filling in of spike holes. The applicator must be careful to fill all spike holes with Pool Brite aggregate to avoid visible spike holes. Extra care must be taken to ensure proper troweling in the coves and corners. Specialty trowels are required for these areas. Insufficient troweling in these areas will result in roughness and washouts (loss of cement and aggregate) during the exposure process.
EXPOSURE AND POLISHING
Once you have completed slick troweling the entire pool surface. Allow the Pool Brite finish to cure overnight. The following morning start by acid washing the surface with Muriatic Acid and water. Start with a fifty (50) percent acid, fifty (50) percent water solution and adjust the concentration as needed. The acid solution should be just strong enough to remove most of the cement paste from the surface. Upon completion of acid wash, rinse pool shell down thoroughly. Now you are ready to polish. Proper safety equipment must be worn at all times. Begin polishing the walls first and then the floor. Following this procedure will minimize the risk of falling on the slick wet Pool Brite surface. Start by using a 70-grit Hone Diamond Disk and lightly polish the entire pool surface. In most cases one pass is sufficient to produce a smooth surface however in high contact areas such as swim outs and spas; a second pass with a 120-grit Hone Diamond Disk may be required. Dispose of wash solution according to local requirements.
INITIAL FILL AND BALANCING, AND OPTIMUM POOL AND SPA WATER CHEMISTRY CONDITIONS
In accordance with National Plasterers Council (NPC) standards, it is recommended that the following pool and spa water chemistry conditions be maintained on an ongoing basis for the longevity of the interior pool and spa finish. These values are important to prevent corrosion, deterioration, discoloration, scaling or other problems. For more information refer to your local agency having jurisdiction or NPC. Follow recommended fill and balancing procedures to ensure a successful start-up. Fill pool completely and without interruption with clean, potable water. The use of a filter during fill is strongly recommended. The initial fill water is the most important water that the pool will receive and must be tested, recorded and adjusted according to the following parameters by an experienced pool professional. For the first thirty days (30) the pH and alkalinity must be monitored and adjusted (if applicable) every three (3) to five (5) days. All other chemicals monitored and adjusted (if applicable) every seven (7) to ten (10) days. The pool water must be tested regularly and documented monthly by a reputable company using a computerized system. Monitoring the pool water regularly will not only affect the new finish but will keep it looking new. Improper water chemistry will void the limited residential / commercial warranty. It is recommended that a quality sequestering agent be used in the initial start-up in accordance with the manufacturer’s instructions and then a recommended maintenance dosage per the sequestering agent’s manufacturer instructions.
- FIRST DAY: Add sequestering agent upon initial fill per manufacturer’s instructions. Adjust pH to 7.2 – 7.6 and total alkalinity to 80 -120 PPM. Maintain calcium hardness at a minimum of 125 PPM for the first three days, then adjust to 200-400 PPM thereafter. Dissolve chemicals completely in water and disperse throughout pool.
- SECOND DAY: Record pH, total alkalinity, calcium hardness and temperature levels. Adjust pH to 7.4 — 7.6 and total alkalinity to 80 — 120 PPM. Dissolve all chemicals completely in water before adding to the pool, and allow sufficient time for each chemical to be fully dispersed before adding other chemicals. DO NOT ADD CHLORINE. Brush entire surface twice daily for the first three (3) days.
- THIRD DAY: Repeat steps from Second Day. Adjust chemistry to the following levels:
- Free Chlorine: 1.0 — 3.0 PPM
- pH: 7.4 — 7.6
- Total Alkalinity: 80 — 120 PPM
- Calcium Hardness: 200 — 400 PPM
- Stabilizer: 30 — 60 PPM
Adjust circulating pump timer to normal operating hours. Brush the pool walls and floor daily for the first two (2) weeks. Do not vacuum pool with wheeled vacuum for 14 days. Putting a wheel cleaner in the pool prematurely can cause wheel marks/ tracks to show up on the pool finish. Do not install an automatic pool cleaner for 28 days. No salt should be added for 28 days. Please make sure the water pH and alkalinity is balanced prior to the use of salt chlorine generators.
DAILY WATER CHEMISTRY AFTER TWENTY-EIGHT (28) DAYS
Maintain the water chemistry using the Langelier Saturation Index (LSI) maintained between 0.0 and +0.3.
DESCRIPTION — POOL AND SPA WATER LEVELS
- Free Chlorine (Above 4.0 PPM may cause corrosion): 1 to 3 PPM
- Total Chlorine: 1 to 3PPM
- pH: 7.4 to 7.6
- Alkalinity: 80 to 120 PPM
- Calcium Hardness: 200 to 400 PPM
- Cyanuric Acid: 50 to 80 PPM
- TDS: 300 to 1,800 PPM (Non-Salt Pools)
- Salt Level: 2,500 to 3,500 PPM (Salt Chlorination ONLY)
MAINTENANCE
Pool Brite®’s lifetime will be greatly enhanced through proper and regular maintenance. Test and record water chemistry values once a week, and adjust as indicated per water-balance table recommendations. Brush the entire pool, walls, and floor weekly. Remove any debris and foreign materials immediately to prevent staining. Check and maintain filter, pump motor and skimmer baskets to maintain proper flow and filtering action. If unable to perform regular weekly maintenance, the services of a qualified licensed pool service professional should be obtained.
CAUTION
Product is alkaline on contact with water. Use paddle for mixing to avoid splashing into eyes or contact with skin. During mixing or application avoid contact with eyes. In case of such contact, flood eyes repeatedly with water and CALL A PHYSICIAN. Wash thoroughly after handling and before smoking or eating. Do not take internally. CONTAINS FREE SILICA — DO NOT BREATHE DUST. Prolonged exposure to dust may cause delayed lung disease (Silicosis).
WARNING: This product may expose you to chemicals, including silica, which the State of California recognizes as a cause of cancer. For more information, visit the Proposition 65 Warnings Website (www.P65Warnings.ca.gov). Use NIOSH approved masks at all times to handle silica dust. KEEP OUT OF REACH OF CHILDREN.
SGM, Inc. warrants this product will perform in accordance with its intended use for a period of one (1) year from the date of manufacture. Any claim for defective product must be submitted in writing to SGM, Inc., and samples of defect must be provided. SGM, Inc.’s sole obligation will be to replace any product determined to be defective by SGM Inc. EXCEPT AS PROVIDED HEREIN, SGM, INC. MAKES NO OTHER REPRESENTATION OR WARRANTY OF ANY KIND, INCLUDING ANY WARRANTY OF MERCHANTABILITY OR FITNESS FOR PARTICULAR PURPOSE. IN NO EVENT SHALL SGM, INC. BE LIABLE FOR DAMAGES OF ANY KIND OR NATURE, WHETHER ARISING BY CONTRACT, TORT OR OTHERWISE. SGM, INC.’S SOLE OBLIGATION WILL BE TO REPLACE ANY PRODUCT DETERMINED BY SGM, INC. TO BE DEFECTIVE.